Now that you've learned how to create lists and add items,
we can suggest some general guidelines for using Itemize:
View single or multiple lists
At the top left of the Items page, the View Items From Lists
menu shows all the lists you can view. Lists you created
appear above a divider line, and lists others created appear
below the line. You can view items from multiple lists by
Control-clicking list names in this menu and then clicking
the View Selected button; if you don't select any lists,
Itemize will show them all. The page will load more slowly
as you view more lists, but one case in which you'll want
to view all lists is when searching for a long-lost item.
In this case, you can enter
a search term in the View Items Containing field before clicking
View Selected.

(Click to enlarge)
Use the item filters to simplify your view
At the top right of the Items page, you'll find several
options for customizing your list view. You can hide completed items,
or view only high-priority or flagged items. And you can
select only the columns you need to see, by Control-clicking
column names in the View Columns menu.
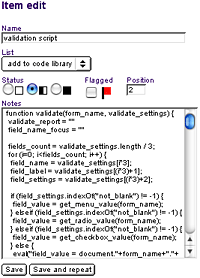
Use memo lists to create a knowledge base
Most organizations have tidbits of important knowledge floating
around but not written down or collected in one place. When
you create a new list, you can select the Memo option to
make a great repository for this information. For example,
you might create a list called Server Maintenance Tips and
create items that contain instructions for running backups,
adding users, etc. When you add items to memo lists, you'll
see a larger Notes field instead of the Priority and Date
Due fields, which aren't relevant to this kind of information.

(Click to enlarge)


